 Save to Pinterest
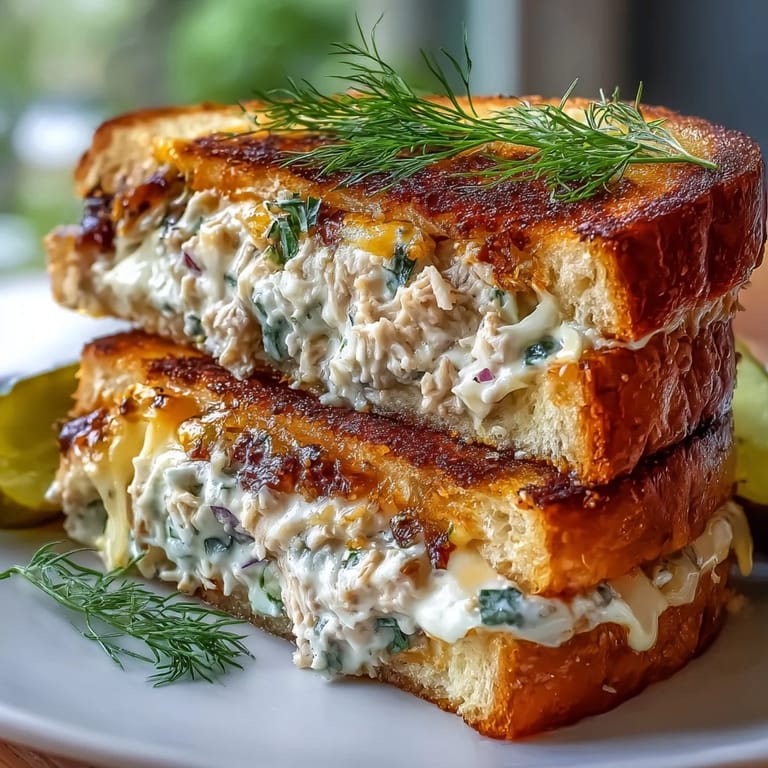
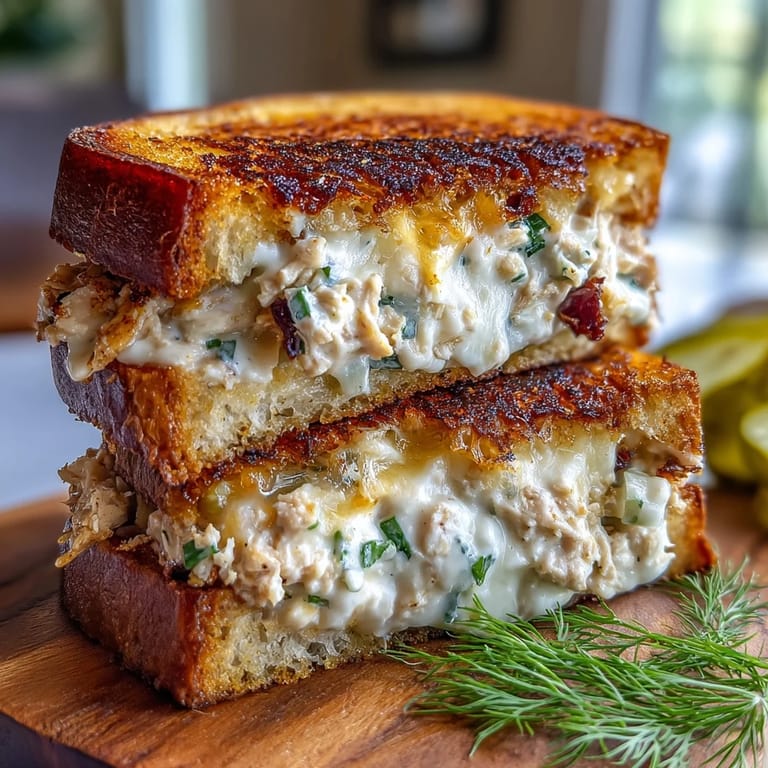
 The clacking of rain against my kitchen window had me hunting the pantry for comfort, and that's when the craving for a crispy tuna melt took over. There's something unbeatable about the aromas of buttery bread sizzling away while the kitchen air fills with the promise of lunch. I never tire of those sharp notes of onion and mustard blending with mellow cheddar, hitting you before the first bite. It isn't fancy food, but it's deeply satisfying. Tuna melts have a way of turning even the greyest afternoons into an invitation to linger at the table.
One rainy Saturday, my friend unexpectedly dropped by and we ended up making these tuna melts together, laughing as we debated whether Swiss or cheddar would reign supreme. The kitchen felt instantly cozier, and soon the sandwiches disappeared before the kettle had even finished boiling for tea. That casual meal turned a regular afternoon into one of those small, memorable gatherings you never plan for. It was the cheesiest kind of happiness. Sharing a frying pan always seems to spark good conversation.
Ingredients
- Tuna: I use tuna packed in water for a fresh, clean taste—just be sure to drain it well so your filling isn't soggy.
- Mayonnaise: Creamy mayo brings everything together; try a good-quality brand for better flavor.
- Dijon mustard: Even a tablespoon gives a subtle but necessary zing—don't skip it if you want true depth.
- Red onion: Finely chop it so its sharpness gets evenly distributed—soaking in cold water tames the bite if you're onion-shy.
- Celery: This adds crunch and a gentle green flavor that lightens the mix beautifully.
- Fresh parsley (optional): I throw in chopped parsley when I have it for a pop of color and brightness.
- Salt and black pepper: Season just before assembly so the flavors stay lively.
- Bread: Sourdough makes the sturdiest, crispiest sandwiches, but any good sandwich bread will do.
- Cheddar or Swiss cheese: Melty cheese is non-negotiable—stack extra if you like a lava effect.
- Dill pickle chips or slices: Crunchy, tangy pickles are the flavor burst that surprises you halfway through.
- Unsalted butter: Softened butter ensures golden, even browning—don't skimp, it makes all the difference.
Tired of Takeout? 🥡
Get 10 meals you can make faster than delivery arrives. Seriously.
One email. No spam. Unsubscribe anytime.
Instructions
- Mix up the tuna salad:
- Scoop your drained tuna into a medium bowl and mash gently with mayo, mustard, red onion, celery, parsley, salt, and pepper. Stir until everything is well combined but still chunky, letting those scents mingle.
- Prep the bread and assemble:
- Lay out the slices on a clean board. Top four slices with cheese, add the tuna salad evenly, layer on pickles, add another slice of cheese, and then cap with the remaining bread.
- Butter both sides:
- Generously spread softened butter over the outer sides of each sandwich—use your fingers to reach the corners, trust me.
- Grill to crispy perfection:
- Heat your skillet or griddle over medium. Place your sandwiches down, butter side touching the pan, and listen for that gentle sizzle; cook for 3–4 minutes per side, pressing gently with a spatula until golden and the cheese melts.
- Serve and enjoy:
- Let them rest on the board just a minute before slicing in half to avoid cheese explosions. Serve hot and admire those melty stripes.
 Save to Pinterest
  Save to Pinterest
 I can still picture the first time I served these tuna melts to my little cousin—her eyes widening at the stretchy cheese, then her announcing it was the best sandwich she'd ever had. It stopped being just a lunch and became a repeat request at every sleepover after that.
Best Breads for Maximum Crunch
After lots of experiments, sourdough edges out as the champion for crispiness, but rye delivers a savory punch. If you only have basic white bread, just toast it a little longer for that golden, satisfying crunch. The key is thick enough slices that don't sag under cheese and filling. Avoid very soft loaves that can stick to the pan or tear when flipping.
Tuna Choices: In Oil or Water?
While oil-packed tuna makes a luxe filling, I stick with water-packed for a lighter, cleaner salad—just make sure it's completely drained or your bread can get soggy. If you want more richness, drizzle a tiny bit of olive oil into the mix. Some brands are chunkier than others; flake it apart with a fork for even mixing. Taste the tuna before building the salad—it makes more difference than you might expect.
Flavor Twists to Try at Home
Once you've mastered the classic, swap things up with a slice of tomato inside the sandwich or a little hot sauce stirred into the tuna. Craving extra crunch? Add shredded lettuce or even a handful of chips just before serving—kids love the surprise.
- Try pepper jack cheese for some gentle heat.
- Chop up capers for a briny edge.
- If you're not a pickle fan, substitute with sliced green apple for sweet-tart zing.
 Save to Pinterest
  Save to Pinterest
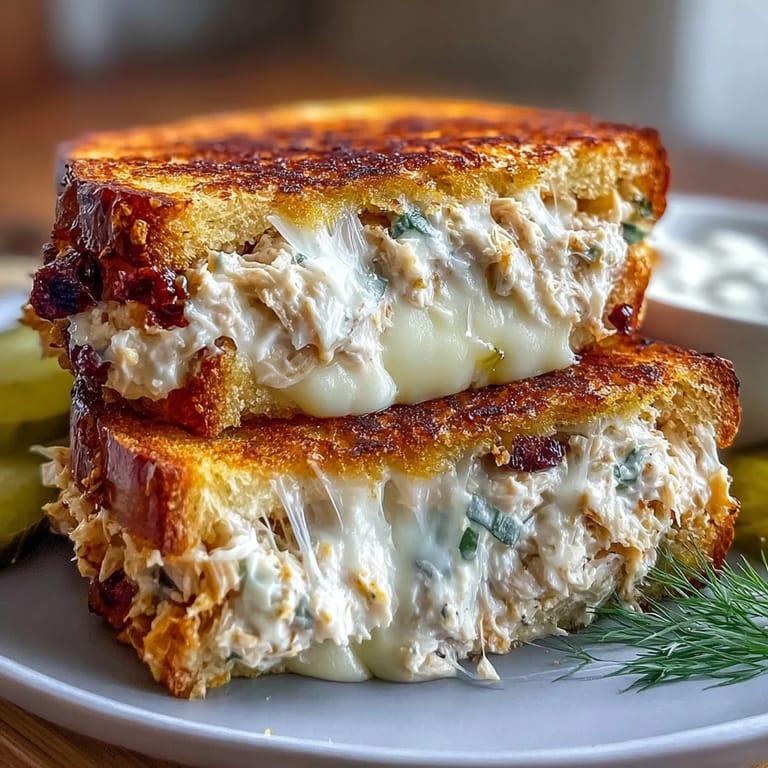
 A crispy tuna melt offers so much more than a quick lunch—it's comfort, chemistry, and crunch all in one bite. Give it a try and see how fast it becomes your own classic.
Common Recipe Questions
- → What type of tuna works best?
Canned tuna in water drained well gives a light, flaky texture; chunk or solid styles both work. For richer flavor, use tuna packed in oil but drain off excess before mixing.
- → How do I keep the bread from getting soggy?
Drain the tuna thoroughly and avoid over-saucing the filling. Butter the outside of the bread and grill over medium heat so the crust crisps before the interior softens.
- → Which cheeses melt best for this sandwich?
Cheddar and Swiss are classic choices for good melt and flavor. Gruyère, provolone or Monterey Jack also melt nicely; combine varieties for depth.
- → Can I prepare components ahead of time?
Yes — mix the tuna filling up to a day ahead and refrigerate. Assemble and butter the sandwiches just before grilling to preserve crispness.
- → What are good substitutions for dietary needs?
Use gluten-free bread for a gluten-free option, vegan mayonnaise and dairy-free cheese and butter for a dairy-free version, and check labels for allergens.
- → Best way to reheat leftovers?
Reheat in a skillet or in a low oven to restore the crisp crust and remelt the cheese. Avoid the microwave if you want to keep the bread crunchy.