 Save to Pinterest
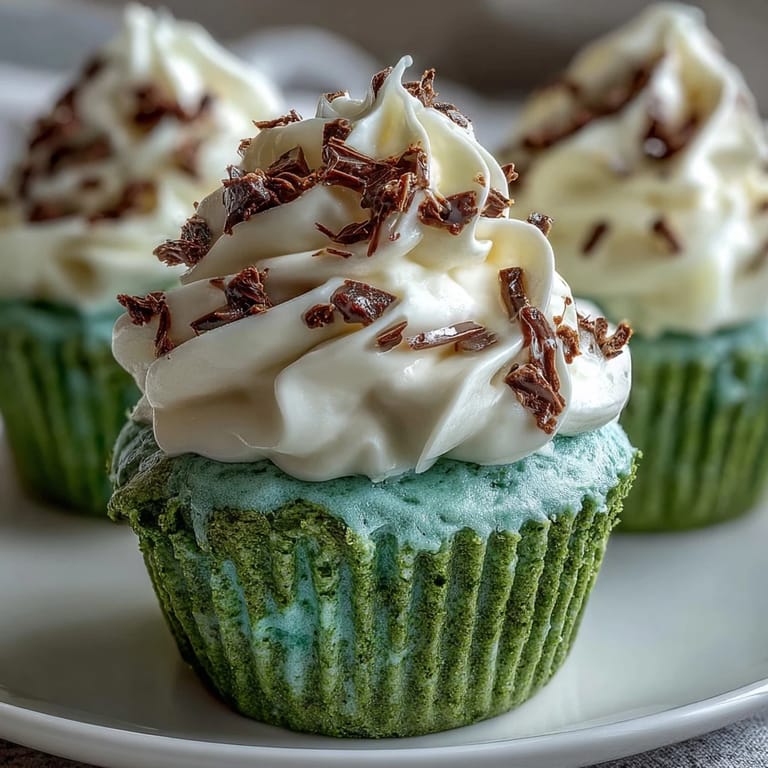
 My coworker burst into the break room one March morning with a box of the most stunning green cupcakes I'd ever seen, and when she offered me one, I understood instantly why she'd made them. The soft crumb melted on my tongue, followed by a whisper of cocoa and cream cheese that tasted nothing like artificial or overdone. She said she'd finally nailed the formula after years of trying, and honestly, after one bite, I was begging for the recipe. That conversation sparked something in my kitchen—a determination to create a St. Patrick's Day dessert that would make people forget all about basic green food coloring mistakes. These velvet cupcakes became my answer, the kind of treat that makes the holiday feel like something worth celebrating.
I made these for a St. Patrick's Day potluck last year, arriving with a carrier full of green velvet cupcakes stacked three high, and watched them disappear before anything else touched a plate. Someone asked if I'd used box mix, and when I said no, their face lit up—it's that moment when homemade baking feels like actual magic. The green was so vibrant and natural looking that people kept asking if I'd found the right trick, and honestly, it all comes down to gel food coloring and respecting the cocoa powder that keeps everything from looking like a joke.
Ingredients
- All-purpose flour (1 1/4 cups): This is your structure, and measuring by weight gives you the best accuracy—scooping and leveling works too, but be gentle so you don't pack it down.
- Unsweetened cocoa powder (1/4 cup): This is the secret keeper, adding depth and a subtle earthiness that prevents the green from tasting artificial or one-dimensional.
- Baking soda (1/2 tsp): This reacts with the acidity in the buttermilk and vinegar to create the tender crumb, so don't skip or reduce it.
- Salt (1/4 tsp): A pinch of salt brightens the chocolate notes and balances sweetness—always measure this carefully.
- Unsalted butter (1/2 cup) and granulated sugar (1 cup): Beating these together until fluffy takes about two minutes and creates tiny air pockets that keep the cupcakes light, not dense.
- Large eggs (2): Room temperature eggs mix in smoothly and create a more tender texture than cold ones, so take them out of the fridge thirty minutes ahead.
- Buttermilk (1/2 cup) and sour cream (1/4 cup): These add tanginess and moisture—if you don't have buttermilk, whisk regular milk with a tablespoon of lemon juice and let it sit for five minutes.
- Vanilla extract (1 tsp): Pure vanilla tastes better than imitation, and you'll notice the difference in the final flavor.
- Green food coloring (1 tbsp): Gel coloring is non-negotiable here because it delivers vibrant green without adding extra liquid that would throw off your batter ratios.
- White vinegar (1 tsp): This reacts with the baking soda to lift the cupcakes and adds a subtle tang that makes the cocoa sing.
- Cream cheese (8 oz) and unsalted butter (1/4 cup): Both should be softened to room temperature so they blend into a silky frosting without lumps or grit.
- Powdered sugar (2 cups): Sifting this removes lumps and makes the frosting smoother—a small step that matters.
Tired of Takeout? 🥡
Get 10 meals you can make faster than delivery arrives. Seriously.
One email. No spam. Unsubscribe anytime.
Instructions
- Get Your Oven Ready:
- Preheat to 350°F and line your muffin tin with liners, which makes cleanup easier and helps the cupcakes bake evenly on all sides.
- Combine the Dry Ingredients:
- Whisk together flour, cocoa powder, baking soda, and salt in a medium bowl so everything distributes evenly through the batter and you avoid pockets of baking soda that taste metallic.
- Cream Butter and Sugar:
- Beat them together for about two minutes until the mixture looks pale and fluffy like clouds, which is when you know the sugar has dissolved and air has been incorporated. This step is worth the time—it makes a real difference in texture.
- Add Eggs One at a Time:
- Beat well after each addition so each egg fully incorporates and the batter becomes smooth and emulsified, which leads to a more tender crumb.
- Bring in the Wet Ingredients:
- Mix in the buttermilk, sour cream, vanilla, green food coloring, and vinegar until everything looks combined and that gorgeous green hue is distributed throughout. The batter will look a little magical at this point.
- Fold in the Dry Mix:
- Add the flour mixture gradually and mix just until you don't see any white flour streaks—overmixing develops gluten and makes cupcakes tough, so stop as soon as everything comes together.
- Fill the Liners:
- Divide batter evenly among liners, filling each about two-thirds full so they rise up and over the tops without overflowing or baking unevenly.
- Bake Until Golden:
- Bake for sixteen to eighteen minutes, checking doneness by inserting a toothpick into the center—it should come out clean or with just a few moist crumbs. Don't overbake or they'll taste dry.
- Cool Properly:
- Let them sit in the pan for five minutes so they firm up enough to handle, then transfer to a wire rack to cool completely before frosting, which prevents the frosting from melting.
- Make the Frosting:
- Beat cream cheese and butter together until smooth, then gradually add sifted powdered sugar, vanilla, and salt, beating until fluffy and light. This takes a few minutes but the effort shows in the texture.
- Frost and Decorate:
- Once cupcakes are completely cool, pipe or spread frosting on top, and add green sprinkles if you want that extra festive touch that makes people smile.
 Save to Pinterest
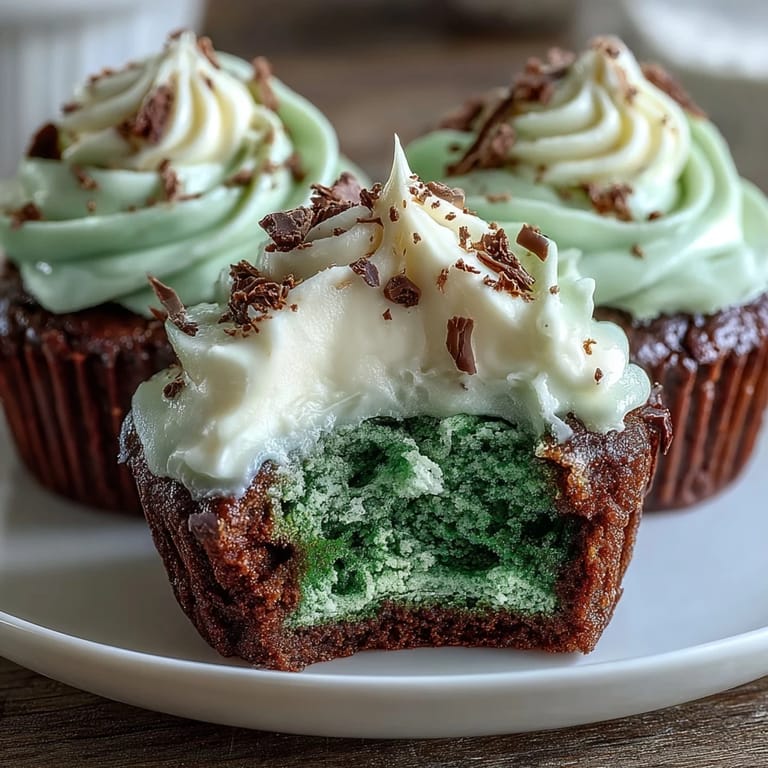
 There's a moment when someone takes a bite and realizes this isn't the artificial-tasting green cupcake they were expecting, and that surprise turns into genuine delight. My neighbor took a cupcake to a St. Patrick's Day gathering and came back saying it had sparked a whole conversation about why homemade tastes better than store-bought, which felt like the best compliment I could get.
The Cocoa Secret
The most unexpected discovery I made was that cocoa powder does something special when you pair it with green food coloring—instead of making the color muddy, it adds sophistication and prevents that one-dimensional artificial taste that green desserts sometimes have. A tiny bit of cocoa flavor lingers in the background, creating depth that makes people pause and try to figure out what makes them taste so good. I learned this by accident when I accidentally used the wrong amount of cocoa and ended up with something genuinely impressive by mistake.
Frosting Texture Matters
The cream cheese frosting is where technique becomes visible—if your cream cheese or butter isn't softened, you'll end up with a lumpy, grainy frosting that looks rough instead of silky. Sifting the powdered sugar before adding it makes an enormous difference in smoothness, and beating everything together for a full minute longer than feels necessary is what transforms it into something pipe-able and beautiful. The salt might seem like a small thing, but it quiets the sweetness and makes the frosting taste more balanced and sophisticated.
Storage and Serving Ideas
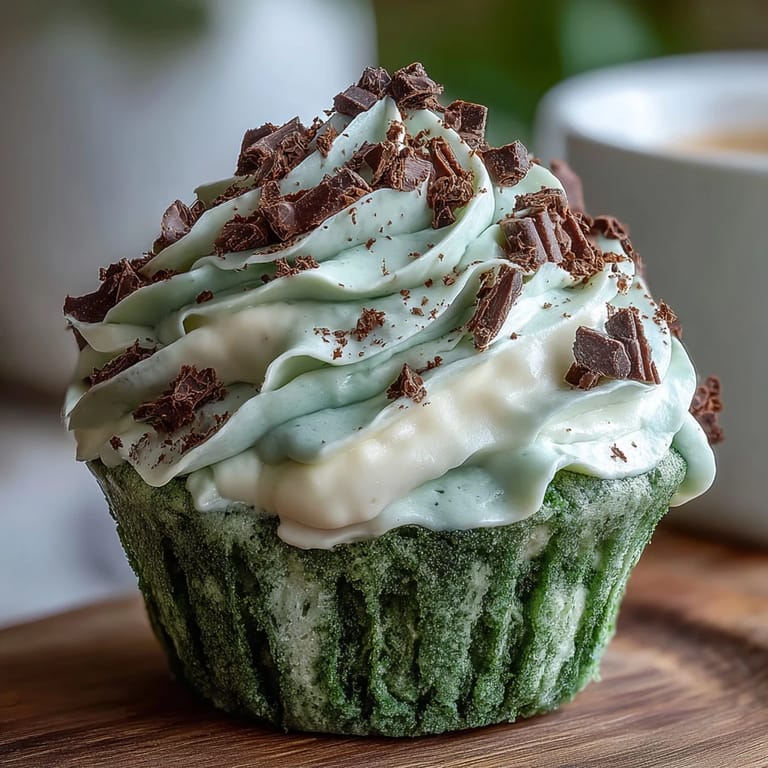
These cupcakes stay moist for two or three days when stored in an airtight container, though the frosting is best enjoyed within a day of making it. They pair wonderfully with Irish coffee, hot tea, or a cold glass of milk, depending on the time of day and your mood.
- Make these the day before your St. Patrick's Day celebration so you can relax and enjoy the party instead of rushing through baking.
- If you're bringing them somewhere, frost them just before leaving so they look fresh and the frosting doesn't dry out.
- Green sprinkles or shamrock decorations make them festive, but they're gorgeous enough on their own if you prefer simplicity.
 Save to Pinterest
 These green velvet cupcakes have become my St. Patrick's Day signature, the thing people ask me to bring because they know it'll taste like actual care went into making them. There's something about a homemade treat that transforms a holiday from ordinary into memorable.
Common Recipe Questions
- → How do I achieve the best green color for the cupcakes?
Using gel food coloring provides a richer and deeper green hue compared to liquid coloring without altering batter consistency.
- → Can I substitute any ingredients for dietary needs?
While this version contains dairy and eggs, plant-based alternatives might work but could change texture and flavor.
- → What causes the cupcakes to be moist and tender?
The combination of buttermilk, sour cream, and vinegar helps create a tender crumb and moist texture.
- → How long should the cupcakes cool before frosting?
Allow cupcakes to cool completely on a wire rack to prevent frosting from melting or sliding off.
- → Are there tips for easily applying the cream cheese topping?
Use a piping bag or a spatula for smooth, even frosting application. Chilling the frosting briefly can improve spreadability.
- → Can these cupcakes be stored and for how long?
Store in an airtight container in the refrigerator for up to 3 days to maintain freshness and texture.