 Save to Pinterest
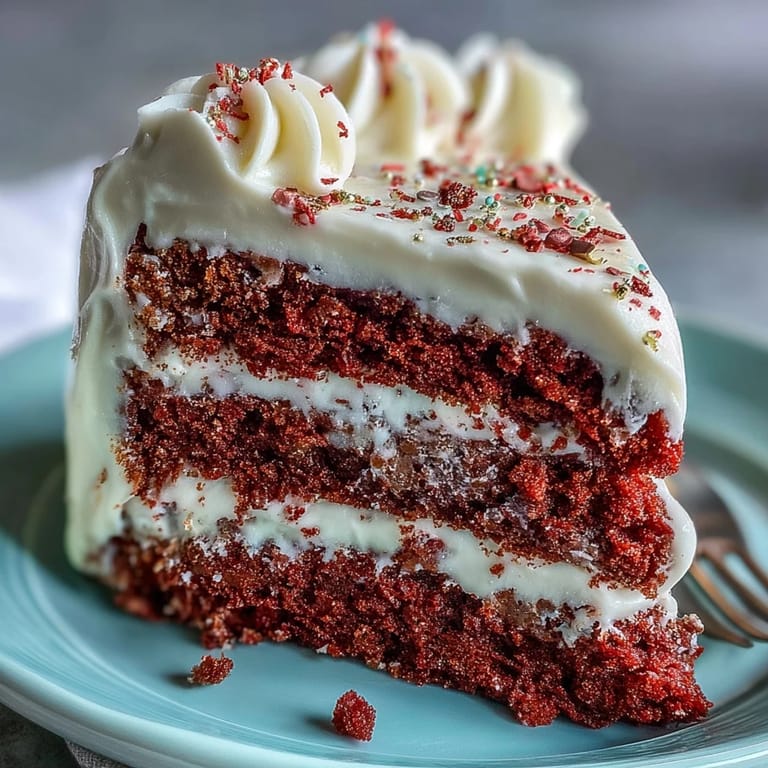
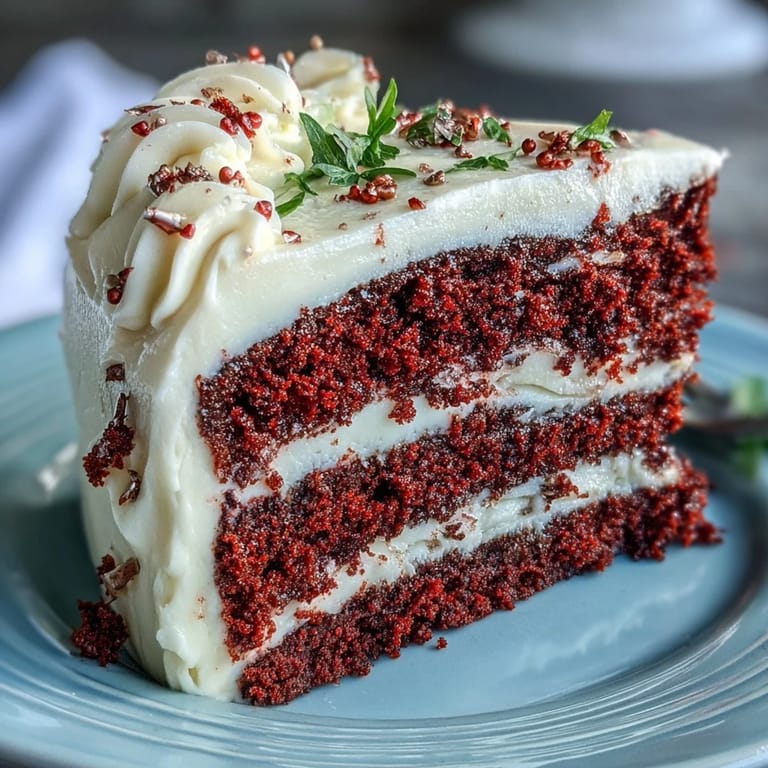
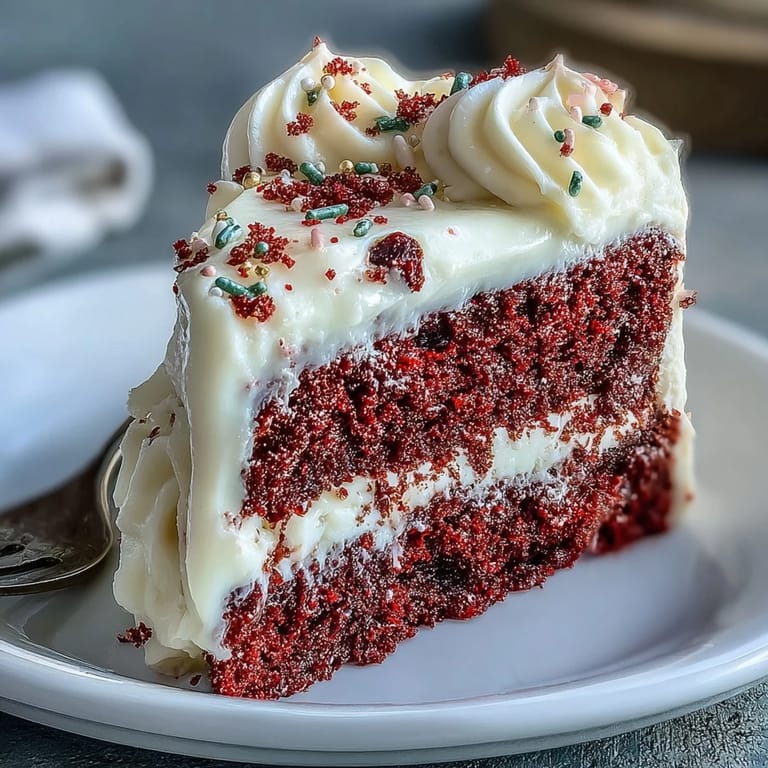
 As soon as I catch a waft of cocoa and vanilla mingling in the kitchen, it’s clear something festive is in the works. This red velvet cake, with its dramatic hue and tangy cream cheese frosting, isn’t just about looks: it brings a sense of celebration and Southern charm straight to the table. The first time I tried making this for Juneteenth, I underestimated just how much the deep red crumb would light up the room on a day of remembrance and joy. Friends gathered around the counter, peering eagerly as frosting swirled and layers took shape—some lending advice, others sneaking tastes. By the time slices were plated, the kitchen felt alive with laughter and a medley of cake crumbs trailing across the floor.
I still remember the year a neighbor who’d never tried red velvet before asked for her slice with extra frosting. She shared stories about her own Juneteenth traditions as we smoothed the final swirls onto the cake, sunlight streaking across the counter.
Ingredients
- All-purpose flour: Sifting this ensures the crumb stays tender—clumps can really mess with the cake’s signature texture.
- Cocoa powder: Even a small spoonful is essential for that subtle chocolate foundation; use a rich, unsweetened variety for best flavor.
- Vegetable oil: This keeps the cake plush and moist, unlike butter-only recipes that sometimes dry out.
- Buttermilk: Gives the red velvet its classic tang—don’t substitute with plain milk, or you’ll lose what makes the flavor pop.
- Red food coloring: Adds the celebratory vibrancy needed for this cake; gel color is more intense and won’t thin your batter.
- Distilled white vinegar: This reacts with the baking soda and buttermilk, boosting lift and helping set that trademark fine crumb.
- Cream cheese: Allowing it to fully soften prevents lumpy frosting and makes a silkier spread.
- Powdered sugar: Sift before adding to the frosting, which saves you from those annoying sugar bumps.
Tired of Takeout? 🥡
Get 10 meals you can make faster than delivery arrives. Seriously.
One email. No spam. Unsubscribe anytime.
Instructions
- Prepare Your Pans:
- Grease and flour two 9-inch cake pans so nothing sticks and you get those neat edges everyone loves to see.
- Gather and Sift:
- Sift together your flour, cocoa, sugar, baking soda, and salt; feel the lightness as it falls into the bowl—it’s worth the extra step.
- Mix the Wet Ingredients:
- Whisk oil, buttermilk, eggs, food coloring, vinegar, and vanilla until they become glossy and smooth; it might look shockingly red, but that's part of the fun.
- Combine and Fold:
- Gradually add the dry to the wet, folding gently so you don’t deflate the batter—stop as soon as everything comes together for the fluffiest result.
- Bake the Layers:
- Pour batter evenly into pans; the kitchens fills with anticipation and hints of cocoa as they bake for about 30 minutes.
- Cool Down:
- Let the cakes rest in their pans briefly, then flip onto a wire rack; resist the urge to frost before they’re completely cool to avoid a melty mess.
- Make the Frosting:
- Beat softened cream cheese and butter until they’re light and lush; slowly add powdered sugar, vanilla, and a pinch of salt until pillowy peaks form.
- Assemble the Cake:
- Lay down that first layer, add a thick blanket of frosting, then carefully add the second—cover the top and sides to your liking.
- Final Touches:
- Scatter red or gold sprinkles or crumble up cake offcuts for a touch of sparkle before serving.
 Save to Pinterest
 Once, someone started humming a freedom song as we cut the cake—suddenly, the moment wasn’t just about dessert but sharing in a joyful milestone and honoring Juneteenth’s spirit together.
What I Learned About Getting That Perfect Red
I tried a few brands and types of food coloring before hitting on a shade bold enough for Juneteenth without tasting artificial. With gel, just a few drops can give you that vivid, festive color—no need to drown the batter and risk a bitter aftertaste.
Secrets for Super-Fluffy Layers
Consistency comes down to gentle folding; the moment I started treating the batter like a souffle, my cakes stopped turning gluey. Don’t rush this part—an extra thirty seconds of patience means a lofty, light crumb every time.
Frosting Like a Pro, Even on a Hot Day
I used to fear summer heat would ruin my cream cheese dreams, but keeping my bowl and beaters cold helps the frosting hold its peaks a little longer. If things start to melt, a quick chill in the fridge brings everything back together.
- Save scraps for decoration—it’s easier than piping.
- Use an offset spatula for super-smooth sides.
- Refrigerate the cake if your kitchen feels warm; it sets the frosting perfectly.
 Save to Pinterest
 This cake always brings people together, not just for its taste, but because each slice feels like part of a bigger celebration. May your kitchen carry the same laughter and color whenever you bake it.
Common Recipe Questions
- → How do I boost the red color without altering texture?
Use concentrated gel food coloring for more vivid color with minimal liquid; add a teaspoon at a time. A splash of distilled white vinegar helps set the dye and brightens the hue without affecting crumb if used sparingly.
- → Can I swap vegetable oil for butter?
Yes, but melted butter will lend more flavor and a slightly denser crumb. Substitute weight-for-weight and cool the melted butter before mixing to avoid cooking the eggs; expect a richer taste and firmer texture.
- → What causes a dense or heavy cake and how can I avoid it?
Overmixing after adding dry ingredients, too much flour, or stale leavening can create density. Measure flour by spooning into the cup and level, fold gently until just combined, and use fresh baking soda for reliable lift.
- → How should I store the cake and how long will it keep?
Cover and refrigerate the frosted cake; it keeps well up to 1–2 days chilled. Bring to room temperature before serving for best texture. For longer storage, freeze unfrosted layers tightly wrapped for up to 1 month.
- → Any tips for silky smooth cream cheese frosting?
Start with room-temperature cream cheese and butter, beat until light before adding sifted powdered sugar, and mix just until smooth. Chill briefly if the frosting becomes too soft while assembling to get clean edges.
- → Can I omit artificial coloring and still get a festive look?
Yes—use natural alternatives like beet powder or a small amount of cooked beet purée for color, or emphasize contrast with red or gold sprinkles and crumbs for a celebratory appearance without heavy dyes.