 Save to Pinterest
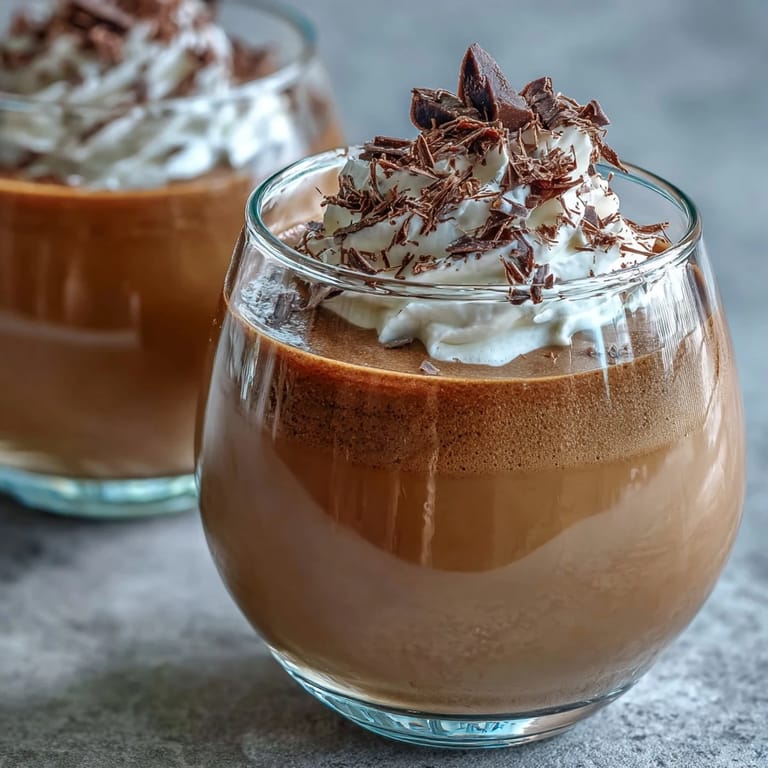
 My first encounter with hojicha panna cotta happened on a quiet afternoon when a Japanese friend brought a small glass jar to my kitchen, explaining how roasted tea could transform cream into something almost ethereal. She watched as I tasted it, and the way the toasted, almost nutty flavor dissolved on my tongue felt like discovering a secret. That moment made me realize that panna cotta wasn't just about technique or silky texture—it was about letting one ingredient whisper rather than shout.
I made this for a dinner party on a winter evening when everyone arrived half-frozen, and serving something this smooth and warm-flavored—despite being cold—felt like wrapping them in a blanket made of cream. One guest asked if I'd studied pastry in France, and I had to laugh while confessing it was really just steeping tea and trusting gelatin. That question stayed with me because it reminded me that elegance often comes from restraint, not complexity.
Ingredients
- Heavy cream: Use the coldest cream you can find, and avoid ultra-pasteurized if possible because it whips up better and creates that luxurious mouthfeel hojicha deserves.
- Whole milk: This lightens the cream just enough so the panna cotta isn't cloyingly rich, letting the tea flavor breathe and shine through.
- Granulated sugar: Dissolves cleanly without grittiness, and the amount is restrained so hojicha's own subtle sweetness can be the real star.
- Hojicha loose leaf tea: Loose leaves infuse faster and more evenly than bags, but bags work perfectly fine if that's what you have on hand.
- Powdered gelatin: Bloom it in cold water first—this step hydrates the gelatin so it dissolves smoothly without lumps when you whisk it into warm cream.
- Cold water: Keep it truly cold because this prevents gelatin from clumping and ensures even setting throughout the panna cotta.
Tired of Takeout? 🥡
Get 10 meals you can make faster than delivery arrives. Seriously.
One email. No spam. Unsubscribe anytime.
Instructions
- Bloom your gelatin:
- Sprinkle the powdered gelatin over cold water in a small bowl and let it sit undisturbed for 5 minutes. You'll notice it transforms into a spongy paste, which means it's ready to dissolve smoothly into warm cream without any grainy texture.
- Heat your cream mixture gently:
- Combine heavy cream, milk, and sugar in a saucepan and warm it over medium-low heat until you see steam rising and small bubbles forming around the edges—resist the urge to let it actually boil because that can break down the cream's structure. You want it hot enough to properly steep the tea, but gentle enough that you're still in control.
- Steep the hojicha:
- Remove the saucepan from heat, add your hojicha tea, and let it sit for 7 to 8 minutes while the roasted notes infuse into the cream. The longer it steeps, the deeper and more toasted the flavor becomes, so taste it at the 7-minute mark and decide if you want to go a bit longer.
- Strain with intention:
- Pour the mixture through a fine-mesh sieve into a clean bowl, using the back of a spoon to gently press the tea leaves so you extract every bit of flavor without forcing any sediment through. This step is worth taking your time on because it's what separates a silky panna cotta from a gritty one.
- Reheat and dissolve gelatin:
- Return the strained cream to the saucepan and warm it again over low heat until it's steaming but still well below boiling point. Add your bloomed gelatin and whisk steadily for about a minute until it's completely dissolved and the mixture looks smooth and uniform.
- Pour and cool:
- Divide the mixture evenly among your ramekins or serving glasses and let them cool to room temperature on the counter for about 20 minutes. This prevents condensation from forming on top, which can make them look cloudy when they set.
- Chill until set:
- Cover each ramekin with plastic wrap and refrigerate for at least 4 hours, though overnight is even better because it gives the gelatin time to fully firm up into that perfect spoon-yielding texture.
- Serve with finesse:
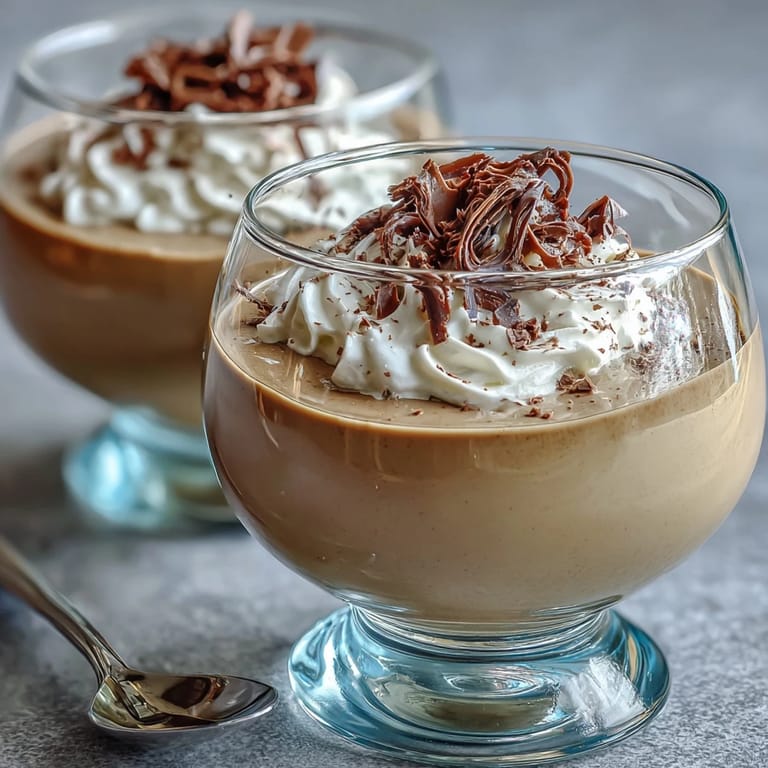
- If unmolding, run a thin, warm knife around the edges of each ramekin and invert onto a plate with one confident motion. Alternatively, serve directly in the glass where it looks equally elegant and requires zero anxiety about unmolding.
 Save to Pinterest
 There's a moment right after unmolding when a panna cotta lands on the plate, catching the light, and you realize you've created something genuinely beautiful with just your hands and a whisk. My grandmother once told me that food becomes memory when it makes people pause mid-conversation, and this quiet, elegant dessert absolutely does that.
Choosing Your Hojicha
Not all hojicha tastes the same, and the one you pick will change the entire personality of your panna cotta. I've learned that darker roasts—the ones that look almost chocolate-brown—give you that deep, almost coffee-like undertone, while lighter roasts keep things brighter and more delicately nutty. A good hojicha should smell warm and toasty the moment you open the package, never musty or stale, and loose leaf versions tend to have better flavor retention than tea bags because there's less surface area lost to packaging.
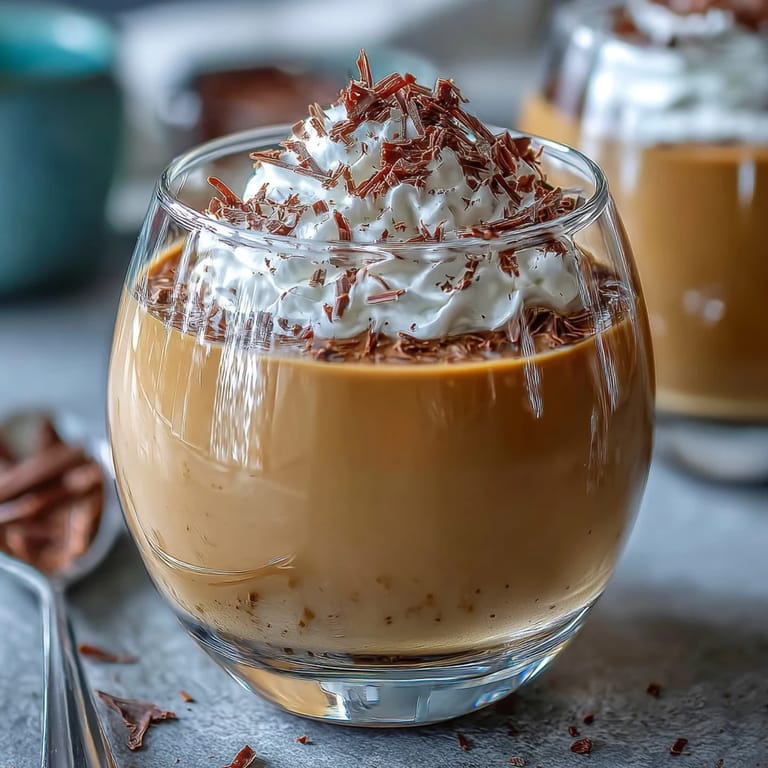
Texture Is Everything
The magic of panna cotta lives in that exact moment when your spoon breaks through the surface and the custard yields—not too stiff, not too soft, just yielding. If you use too much gelatin, you end up with something bouncy that feels more like rubber than custard, and too little means it never sets properly and you'll be serving hojicha soup to disappointed guests. I've found that 2 teaspoons per 2 cups of liquid is the sweet spot, though humidity and your specific fridge temperature can shift things slightly, so don't be afraid to adjust by half a teaspoon if you're in a particularly warm or cold climate.
Making It Your Own
Once you understand how this dessert works, you're free to play with it in ways that feel personal. I've made versions with a pinch of cardamom stirred in, or a splash of sake added to the cream before heating, or even a drizzle of black sesame paste on top. The hojicha stays constant as your anchor flavor, but everything else is open to interpretation.
- For a vegan version, swap the heavy cream and milk for full-fat coconut cream and coconut milk, then use agar-agar instead of gelatin, which sets firmer and doesn't require blooming.
- A tiny pinch of sea salt added to the warm cream creates an almost savory complexity that makes the hojicha taste even more sophisticated and grown-up.
- Pairing it with cold-brewed hojicha tea as an after-dinner drink amplifies the flavor experience and makes the whole moment feel intentional and complete.
 Save to Pinterest
 This dessert taught me that sometimes the simplest ingredients, treated with patience and respect, create the most memorable moments. Serve it cold, watch someone taste it, and let the quiet elegance speak for itself.
Common Recipe Questions
- → What flavor does hojicha add?
Hojicha provides a gentle, roasted, nutty flavor that complements creamy textures without overpowering.
- → Can gelatin be replaced?
Yes, agar-agar can substitute gelatin for a vegan-friendly set but requires quantity adjustments.
- → How long should it chill?
Chilling for at least 4 hours ensures a smooth and firm custard texture.
- → What garnishes work well?
Whipped cream, shaved chocolate, roasted nuts, or edible flowers enhance presentation and flavor.
- → Is it gluten-free?
Using the specified ingredients, this dish is naturally gluten-free.