 Save to Pinterest
 My neighbor knocked on my door that Fourth of July morning with her kids in tow, asking if I had any last-minute dessert ideas for the block party. I'd been scrolling through my phone half-awake with coffee when the question landed, and somehow my brain immediately went to something small, fudgy, and celebratory. Within an hour, my kitchen smelled like chocolate, and twenty-four little brownie bites were cooling on racks while her kids pressed their noses against the glass door. That's when I knew these were going to be the hit of the day.
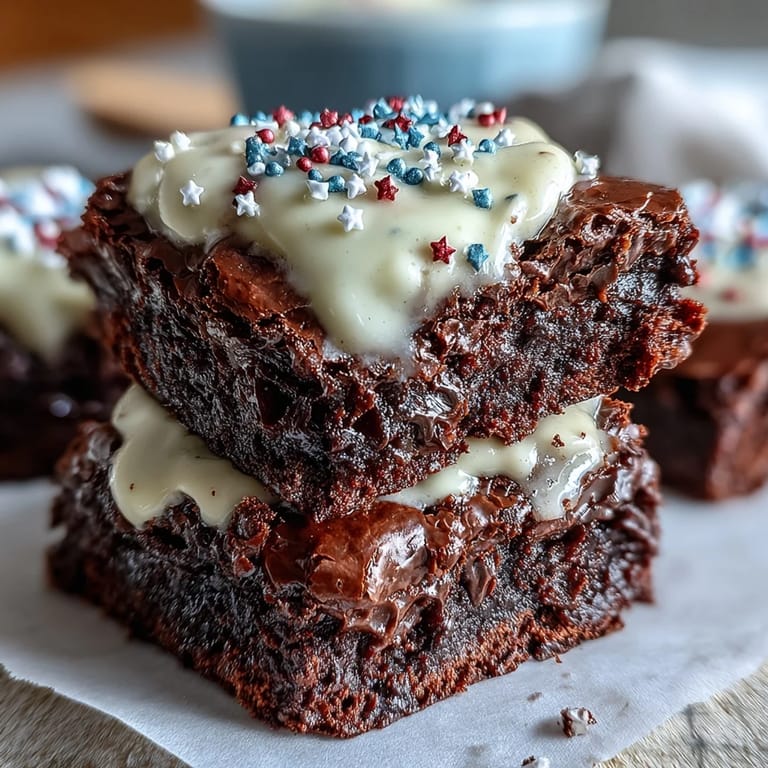
What I didn't expect was how quickly they disappeared from the dessert table. By the time the fireworks started, people were asking for the recipe, and one dad was sneaking a fourth one when he thought nobody was looking. Watching someone's eyes light up when they bit into that fudgy center paired with tangy frosting felt like the real celebration.
Ingredients
- Unsalted butter (1/2 cup): This is your fudgy foundation—room temperature makes melting smoother, but if you're in a rush, microwave it gently so it doesn't turn into hot oil.
- Granulated sugar (1 cup): The amount might seem generous, but it creates that dense, almost gooey texture that makes these bites feel indulgent.
- Large eggs (2): Room temperature eggs mix more evenly with the sugar, so pull them out while you're prepping everything else.
- Vanilla extract (1 teaspoon): Don't skip this—it rounds out the chocolate flavor and keeps things from tasting one-note.
- Unsweetened cocoa powder (1/3 cup): Sift it if you have the patience; if not, just whisk it really well to break up any tiny lumps.
- All-purpose flour (1/2 cup): This amount keeps the bites chewy rather than cakey, which is exactly what you want.
- Salt (1/4 teaspoon): Salt amplifies chocolate flavor, so don't think of it as optional.
- Baking powder (1/4 teaspoon): Just enough to give them a tiny lift without making them fluffy.
- Cream cheese (4 oz, softened): Leave it on the counter for at least an hour—cold cream cheese won't blend smoothly and you'll end up with lumpy frosting.
- Unsalted butter for frosting (2 tablespoons): Same softness rule applies here.
- Powdered sugar (1 cup): Sift this too if you want silky frosting, but again, a good whisk works fine.
- Red, white, and blue sprinkles: Get the kind that don't bleed color immediately, or your frosting will look muddy by the time you serve them.
Tired of Takeout? 🥡
Get 10 meals you can make faster than delivery arrives. Seriously.
One email. No spam. Unsubscribe anytime.
Instructions
- Get your pan ready and heat the oven:
- Set your oven to 350°F and either grease your mini muffin pan or line it with little paper cups—the latter makes cleanup easier and keeps things looking neat. This gives you time to gather everything else without feeling rushed.
- Make the base mixture:
- Melt butter in the microwave (about 30 seconds, then stir), then mix in sugar, eggs, and vanilla until the whole thing looks smooth and glossy. Don't overthink this step—you're not making frosting yet, just combining wet ingredients.
- Add the dry ingredients:
- Whisk your cocoa powder, flour, salt, and baking powder in a separate bowl first, then stir into the wet mixture until you see no dry streaks. Stop there—overmixing toughens brownies, even the tiny ones.
- Fill the pan:
- Spoon or pipe batter into each cup until it's about three-quarters full, leaving just enough room for the bites to puff slightly. A small ice cream scoop helps you stay consistent without thinking about it.
- Bake until just done:
- Set a timer for 12-15 minutes and keep an eye after 12—you want a toothpick to come out with a few moist crumbs, not clean. That's the difference between fudgy and dry.
- Cool them properly:
- Let them sit in the pan for 5 minutes so they firm up enough to handle, then slide them onto a wire rack to cool completely before frosting. Patience here prevents your frosting from melting into soup.
- Make the frosting:
- Beat softened cream cheese and butter together until fluffy, then gradually add powdered sugar so it doesn't puff sugar everywhere. Add milk a tablespoon at a time until the texture feels spreadable but not runny.
- Frost and decorate:
- Once the brownies are completely cool, pipe or spread a generous dollop of frosting on each one—this is where they transform into something special. Top with sprinkles immediately so they stick to the frosting.
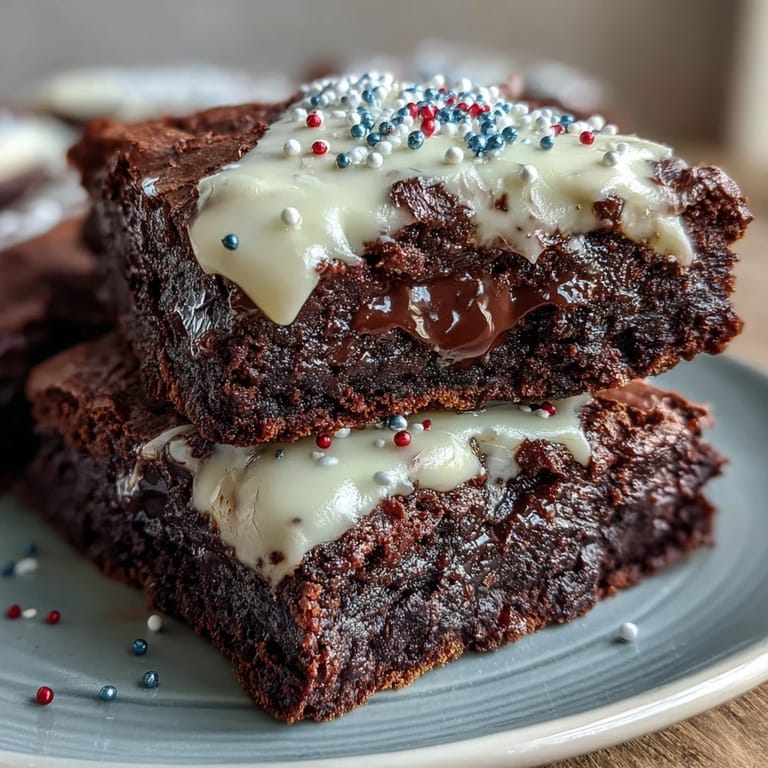
 Save to Pinterest
 The neighbor brought them home the next day in a borrowed container—one leftover brownie bite, half-eaten with a small bite taken out of it, and a sticky note saying her youngest couldn't wait until morning. That's when I knew these weren't just dessert; they were the kind of food that makes people remember a day.
Why These Bites Hit Different
There's something about a two-bite dessert that feels less guilty than a full slice of cake, even though you'll probably eat three or four. The frosting-to-brownie ratio is generous but not overwhelming, and the little size makes it easy to sneak one from the cooling rack without feeling too obvious about it. I've noticed people who say they don't love sweets still end up grabbing one, which tells me the balance is right.
Timing and Make-Ahead Options
You can bake the brownie bites up to two days ahead and store them in an airtight container, then frost them a few hours before serving. The frosting can be made the morning of if you keep it in the fridge until you're ready to pipe or spread it. This flexibility means you can host without spending the whole day in the kitchen, which honestly makes entertaining feel less stressful.
Small Tweaks That Change Everything
I've experimented with a few variations since that first batch, and some tweaks are worth mentioning. Adding a tiny pinch of espresso powder to the batter deepens the chocolate flavor without making it taste like coffee, and using half regular and half white chocolate chips in the frosting creates a fun speckled look. If you want them to feel extra celebratory without adding sugar, edible glitter or even a tiny amount of pop rocks on top creates the right amount of sparkle and texture.
- Make a practice batch if you're serving these to impress someone—it takes the pressure off perfecting the frosting.
- If your sprinkles do bleed, it actually looks intentional if you lean into it and embrace the ombré effect.
- These freeze beautifully for up to a month if you unfrost them and wrap them well, so there's no reason not to make extra.
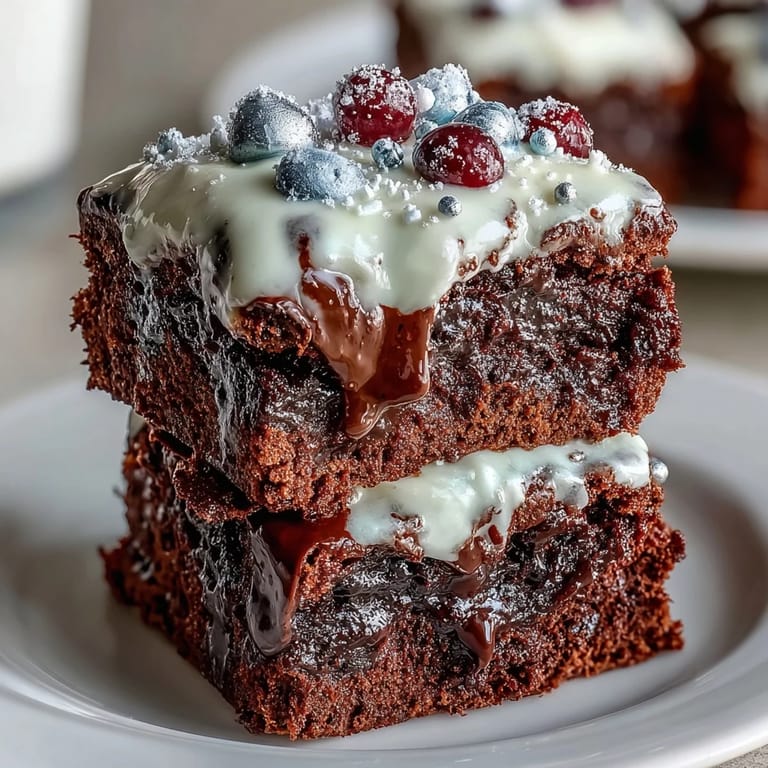
 Save to Pinterest
 These brownie bites have become my go-to when I need something that feels festive but doesn't require hours of work. They're proof that small, thoughtful desserts often make the biggest impression.
Common Recipe Questions
- → What ingredients give these bites their fudgy texture?
A combination of unsalted butter, granulated sugar, eggs, and unsweetened cocoa powder creates the rich, fudgy texture in these brownie bites.
- → How can I achieve a creamy frosting for topping?
Beating softened cream cheese and butter until smooth, then gradually adding powdered sugar and vanilla extract, creates the creamy frosting perfect for these bites.
- → Can I substitute gluten-free flour in this dish?
Yes, replacing all-purpose flour with a gluten-free alternative works well to accommodate dietary preferences without sacrificing texture.
- → What’s the best way to decorate these festive bites?
Use red, white, and blue sprinkles to add a colorful, patriotic appearance. Mini sparklers or festive toothpicks can enhance the presentation.
- → How long do these brownie bites stay fresh?
Store them in an airtight container in the refrigerator to keep them fresh for up to three days.
- → Can I use alternative toppings for extra sparkle?
Edible glitter or pop rocks can be used as fun, sparkling toppings to add extra visual appeal.