 Save to Pinterest
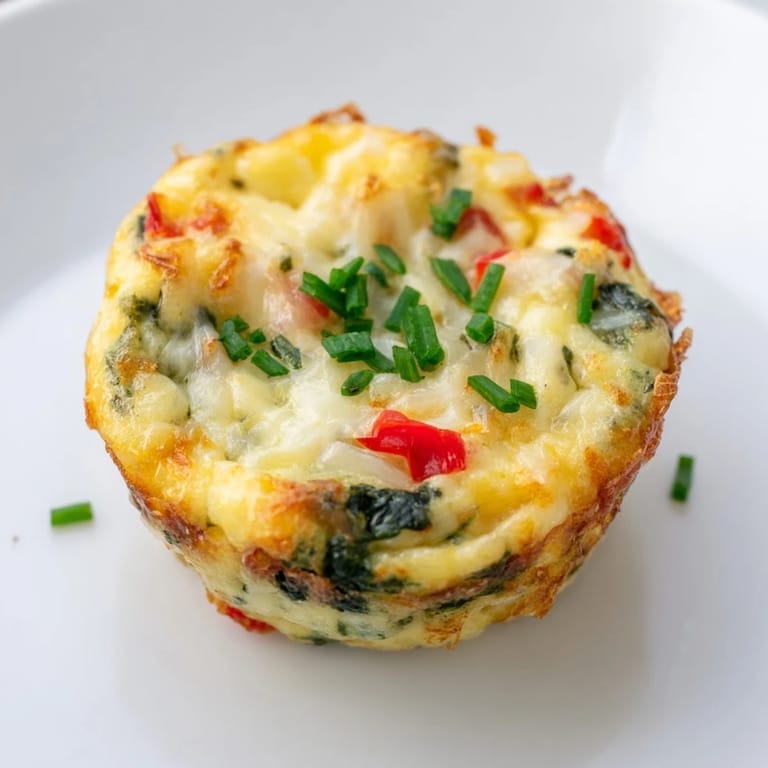
 I started making these spinach egg cups on Sunday mornings when I wanted something warm and satisfying but didn't feel like standing over the stove. The muffin tin was already out from baking with my niece the day before, and I had a bag of wilting spinach that needed rescuing. What came out of the oven surprised me—little golden domes that tasted like comfort and felt like taking care of myself. Now they're my go-to whenever I need breakfast that travels well or when friends drop by unexpectedly.
The first time I brought these to a potluck brunch, my friend who claims she doesn't cook asked for the recipe three times before we even cleared the table. She texted me later that week with a photo of her own batch, proud and a little shocked at how simple they were. That moment reminded me that the best recipes aren't the ones that impress with complexity—they're the ones that make someone feel capable in their own kitchen.
Ingredients
- Fresh spinach: I always use the pre-washed kind when I'm in a hurry, but give it a rough chop so it distributes evenly instead of clumping in one cup.
- Onion and red bell pepper: These add sweetness and little bursts of color, though I've skipped the pepper plenty of times and nobody noticed.
- Eggs: The backbone of the whole recipe—make sure they're at room temperature so they whisk smoothly with the milk.
- Milk: I've used oat milk, regular milk, even a splash of cream when that's all I had, and it always works.
- Shredded cheese: Cheddar makes them rich and sharp, but mozzarella keeps things mild if you're feeding kids or someone with a sensitive palate.
- Parmesan: This adds a salty, nutty depth that makes the flavor feel more intentional.
- Salt, pepper, and nutmeg: The nutmeg is optional, but it adds a warmth that people can't quite place and always ask about.
- Fresh herbs: Chives or parsley bring a brightness that cuts through the richness—dried works in a pinch, but fresh is worth it here.
Tired of Takeout? 🥡
Get 10 meals you can make faster than delivery arrives. Seriously.
One email. No spam. Unsubscribe anytime.
Instructions
- Prep your tin:
- Preheat your oven to 350°F and grease every cup of a 12-cup muffin tin generously, especially the edges where the eggs love to stick. I've learned that silicone liners are worth the investment if you make these often.
- Sauté the vegetables:
- Heat a skillet over medium and cook the onion and bell pepper until they smell sweet and look soft, about 3 to 4 minutes. Toss in the spinach and stir until it wilts down into almost nothing, then set it aside to cool so it doesn't scramble the eggs later.
- Whisk the egg base:
- In a large bowl, beat the eggs with the milk, salt, pepper, and nutmeg until everything is smooth and slightly frothy. Fold in both cheeses and the herbs, and you'll see the mixture turn creamy and speckled with green.
- Combine and fill:
- Stir the cooled spinach mixture into the eggs, making sure it's evenly mixed. Spoon the mixture into each muffin cup until they're about three-quarters full—they'll puff up as they bake.
- Bake until set:
- Slide the tin into the oven and bake for 18 to 22 minutes, watching for the tops to turn golden and the centers to stop jiggling. Let them cool for 5 minutes before running a butter knife around the edges to release them without tearing.
 Save to Pinterest
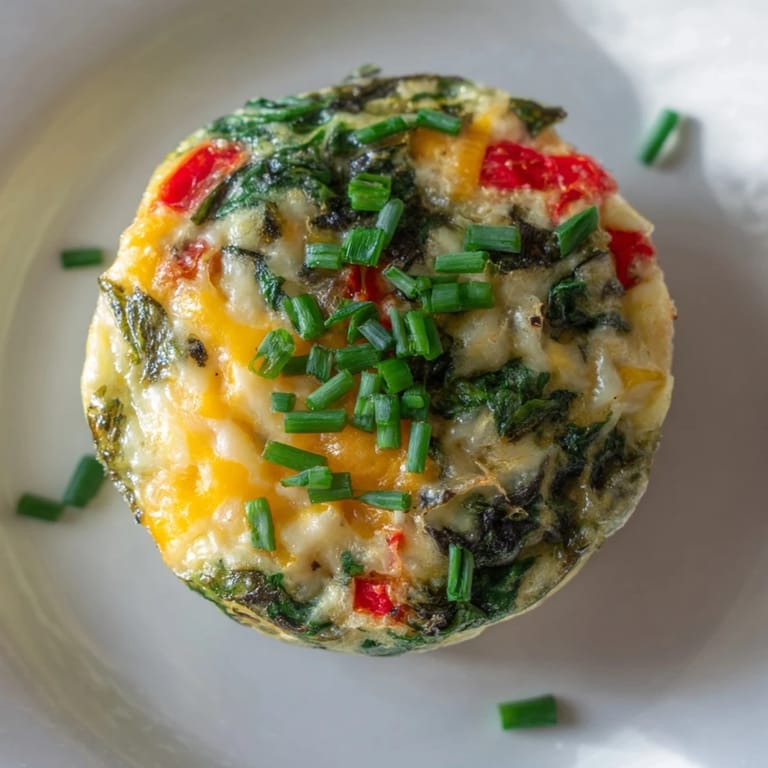
 One morning my neighbor knocked on the door holding a container of these I'd sent home with her husband the week before. She said her kids had been asking for the egg muffins every day since, and could I teach her how to make them. We stood in my kitchen that afternoon, her toddler on her hip, and she realized halfway through that she'd been overthinking breakfast for years. Sometimes the simplest things are the ones that stick.
Storage and Freezing
These keep beautifully in the fridge for up to five days in an airtight container, and I've reheated them in the microwave for 30 seconds more times than I can count. If you want to freeze them, let them cool completely, wrap each one individually in plastic, and toss them all in a freezer bag. They'll last up to two months, and you can reheat them straight from frozen—just add an extra minute or so in the microwave.
Flavor Variations
I've tucked crumbled bacon, diced ham, and chopped sun-dried tomatoes into these cups depending on what's in the fridge, and they've all been delicious. Swap the spinach for kale or Swiss chard if you want a heartier green, or stir in sautéed mushrooms and thyme for an earthy twist. Once you get the hang of the egg-to-milk ratio, you can fill these with almost anything and they'll turn out just fine.
Serving Suggestions
I love serving these warm with a simple arugula salad dressed in lemon and olive oil, or alongside roasted cherry tomatoes and avocado slices for a more filling plate. They're also perfect tucked into a lunchbox with fruit and nuts, or stacked on a brunch platter next to fresh berries and yogurt.
- Pair them with hot sauce or salsa if you like a little heat in the morning.
- Serve with whole grain toast or a buttery croissant for a more indulgent weekend breakfast.
- Pack them cold for picnics or road trips—they hold up beautifully and taste great at any temperature.
 Save to Pinterest
 These little egg cups have become more than just a recipe in my kitchen—they're a reminder that taking care of yourself doesn't have to be complicated. I hope they bring you easy mornings and maybe a few moments of quiet pride when you pull a batch from the oven.
Common Recipe Questions
- → Can I use different greens instead of spinach?
Yes, kale or Swiss chard can be substituted for spinach to add unique flavors and textures.
- → What cheese types work best in these egg cups?
Cheddar, feta, or mozzarella are excellent choices that melt well and complement the spinach.
- → How can I make these egg cups dairy-free?
Use unsweetened, unflavored non-dairy milk and select a dairy-free cheese alternative to maintain flavor and texture.
- → Are these egg cups suitable for meal prep and freezing?
Absolutely. After cooling completely, store them in an airtight container in the freezer for up to two months.
- → What is the best way to remove the egg cups from the pan?
Run a knife gently around the edges after cooling slightly to loosen, then carefully lift them out to keep their shape.